Lots of new techniques and web development simplified! As a part of some project I came across these names "Ruby on Rails", "MongoDB", "Mongoid" and these followed by several doubts! What is rails? What is MongoDb? How to incorporate MongoDB on rails?
So I decided to put it up on my blog to simplify and encapsulate the steps needed to be performed in order to get through it!
So I decided to put it up on my blog to simplify and encapsulate the steps needed to be performed in order to get through it!
Ruby on Rails is one of the most easy and efficient tools for creating any website! Especially those which have a database management system linked to it.
Ruby on rails with mongodb is one of the easiest ways to create data management website!
For more information about the two you can have a look at these links:
>> Ruby on rails
>> MongoDB
I struggled a lot to incorporate MongoDB and hence here follows a step by step instruction guide in order to have your rails running:
Lets create a demo app to understand it, open the command prompt with ruby on rails and navigate to the folder in which you are creating your rails projects:
>cd rails_pro
>rails new demoApp --skip-active-record
The folder demoApp will be created in the specified directory, now open the folder and open Gemfile in text editors like Sublime Text2, and add these two lines:
gem 'mongoid', "~> 3.0.0"
gem 'bson_ext'
Now...lets add a controller to our app...switch back to command prompt and type:
> cd demoApp
> rails generate controller students
this command would create students_controller.rb in app>controllers and a students folder in app>views.
We will write code for these later, first lets create a model (which actually defines database) as follows:
Come back to cmd, type
> rails generate mongoid:config
This will crete mongoid.yml file in demoApp\config folder!
Further type:
>rails generate model student
This will create student.rb file in app\models folder.
Done? Now lets write code in these files:
>>1. Open student.rb in Sublime Text 2 and type:

To keep it short and simple, lets add just 3 functionality to the model/ table:
1. list : will list all the existing records (will have corresponding view)
2. new: will display form to create new student's record (will have corresponding view)
3. create: will actually create the record (no corresponding view)
>>2. Now open students_controller.rb in Sublime Text2 and type:

>> Now lets develop corresponding views, create a 2 new files list.html.erb and new.html.erb, type the corresponding code (shown below) and save them inside app\views\students folder:


Its all done! Now comes the main step, but before that ensure you have done this:
# Open config\routes.rb and remove # from the last line, so that the line is included:
match ':controller(/:action(/:id))(.:format)'
# Remove files from app\assets\javascripts and app\assets\stylesheets, these unnecessary cause ExecJS error!
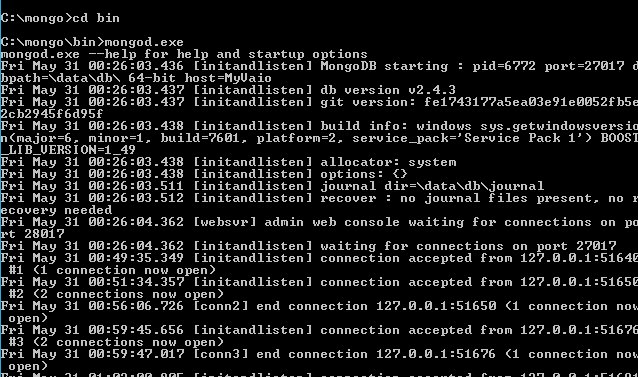
Lets move to cmd now, open one more cmd and navigate to the directory where you have unzipped mongodb and run command mongod.exe:
Leave this cmd as it is, and in the first cmd, type:
>bundle install
>rails s
Now switch to web browser and type: localhost:3000/students/list

You will get a view like this if any previous records are inserted, if not then "1 default" won't appear!
Type in URL: localhost:3000/students/new

This worked pretty well for me, hope this would have helped you! For any further queries do leave a comment I will get back to it asap.


Great tutorial Aditi. Do you know if Rails can work with a traditional database as MySql and MonogDB at the same time? I ask because MongoDB is great when you don't need transacional integrity or atomic commits to the database.
ReplyDeleteBest regards,
Felipe
@Felipe Glad you liked it!
ReplyDeleteYes it can work with both simultaneously! I would suggest you to check this link once: http://two.mongoid.org/docs/installation/configuration.html